
How to Design Roof Tiles for a Cone Roof
Editor’s note: This post was originally published on the Enjoy Revit blog and re-published here with permission.
Mission: Make roof tiles in Revit like the ones on this cone roof:

First, the tiles have to be transformed depending on their location.
The higher the narrow

The lower the wider
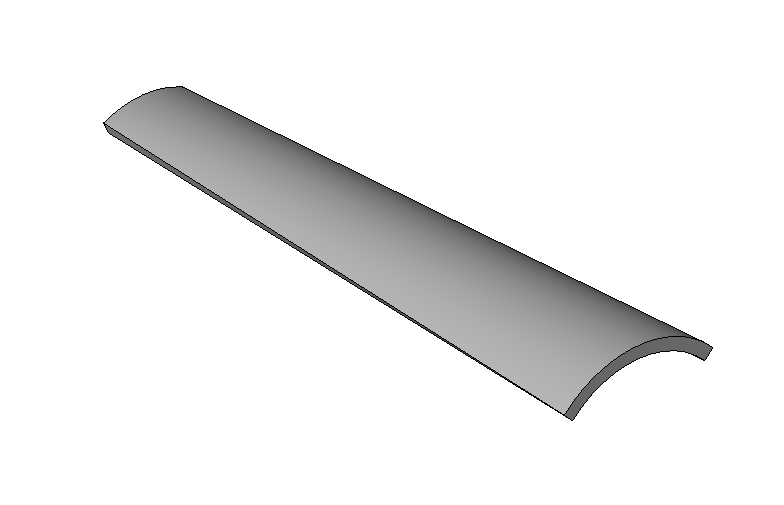
In addition to adjusting the sizes, two different shaped tiles are necessary; cap tile and pan tile.


stack concept.
After making two tiles, place these at rectangle pattern. It may seem weird at first but...

It will eventually be like this:

To make it an adaptive family, I created a 2-point adaptive cone family:

Three circles are used to make two layered faces.
Then I created a UV grid on the surface:

Some formulas are used to make number of grid of the bottom surface two times more than one of upper surface.

Finally, just applied the pattern which I created above.

And here is how it works:
Editor’s note: This post was originally published on the Enjoy Revit blog and re-published here with permission.
Cover photo © Max Pixel


