Revit Architecture: Railing Extension Styles
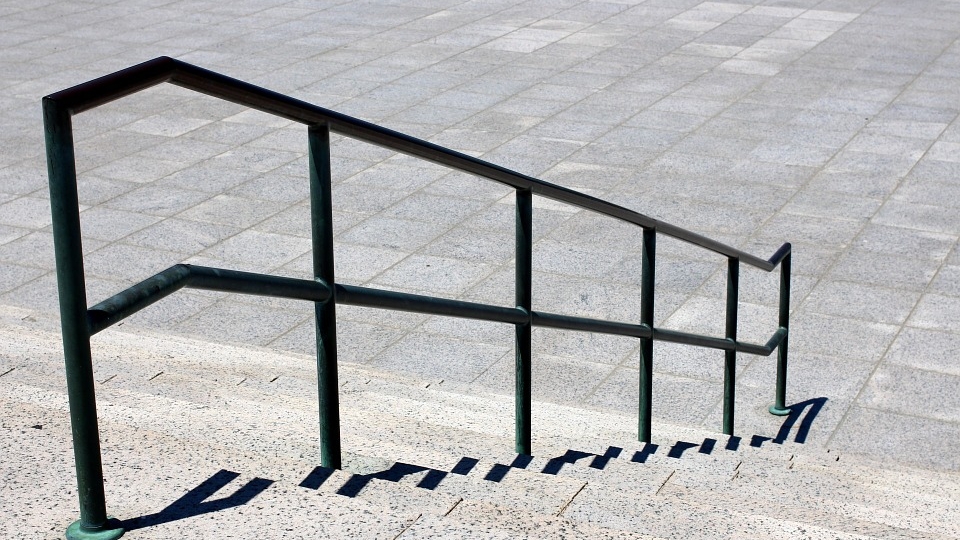
There is no denying that Revit’s Railing tool is a clever piece of kit. As part of the Stair-creation process, Railings are automatically added (by Revit) to your creations- traversing runs and landings with ease…
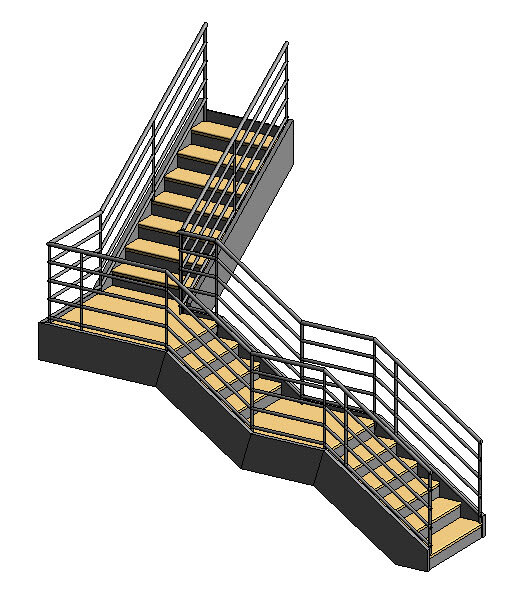
image © BIMscape
But let’s take a look at the bottom and top ends of the railings. Not very often (in the real world) do stair railings terminate like this. For example, in the UK the Building Regulations dictate that there is an “over run” on the railings to aid the stair’s accessibility. So how do we go about modifying how the railing terminates? Well thankfully there is a Parameter in Revit that control how the railing is terminated at each end. The Parameter is a Type Parameter of the Top Rail, rather than the Railing itself. Let me explain….
If I hover over the railing itself, it turns blue in readiness to be selected….

image © BIMscape
But instead of selecting the railing, I use the “Tab” key to find nearby selections- Revit will single out just the “Top Rail”……

image © BIMscape
If I select this, I can gain access to the Type Parameters of the Top Rail only…..

image © BIMscape
So let’s go ahead and take at look at the Type Parameters for the Top Rail of a Revit Railing family. About half way down the Type Parameter panel are the two Groups we are interested in…
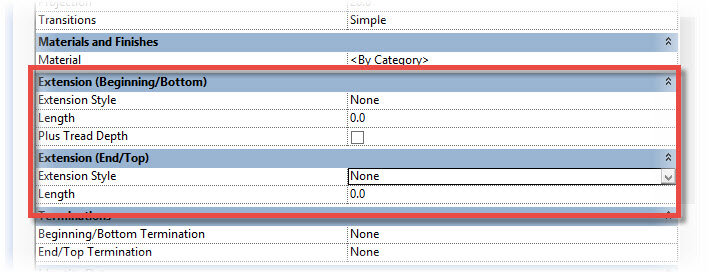
image © BIMscape
The two Groups are “Extension (Beginning/Bottom)” and “Extension (End/Top)”. Each Group contains the Type Parameters “Extension Style” and “Length”. However, the “Extension (Beginning/Bottom)” Group also contains a Parameter called “Plus Tread Depth” So let’s see what these Parameters do. The “Extension Style” parameter is a drop-down choice. The choices are….

image © BIMscape
The default is None, which is why our Railing finishes quite abruptly at the moment. If we switch to “Wall”, then the end of the railing will terminate with a horizontal section. The length of this section is determined by the “Length” parameter, found in the same Group. For the example below, I have set it to 300mm….

image © BIMscape
If I set it to “Floor”, the Top Rail will dive vertically down to the ground……

image © BIMscape
And finally, if I select “Post”, the Top Rail will drop vertically and then return back to the last Railing Post….

image © BIMscape
In each case, the “Length” Parameter controls the distance of the horizontal from the last railing upright.
If we tick the “Plus Tread Depth” parameter, Revit will add on the equivalent of another Tread onto the distance of the over run. Here is an example using the “Post” style of extension…

image © BIMscape
Before I finish this article, I will just mention the “Termination” parameters. You will recall that this Group was found just below the “Extension (Beginning/Bottom)” and “Extension (End/Top)” Groups. If I set change the Termination parameter to “Standard” (as opposed to “None”), Revit will add a fixing plate to the end of the Top Rail. Here is an example, using the “Floor” Extension Style”….

image © BIMscape
This post was originally published on BIMscape’s blog and has been republished here with permission.

cover image © unsplash