Custom Revit Hatch Patterns
Editor’s note: This post was originally published on RevitIQ's blog and re-published here with permission.
A question I get asked about a lot (and I’m sure you have probably asked this yourself!) is how do I make my own Revit hatch patterns?! Revit comes with a bunch of great out-of-the-box patterns, but every company has there own particular ‘look’ where custom hatch patterns are needed. This is especially true if you are coming from AutoCAD and you want your documentation to be consistent.
Creating your own custom Revit hatch patterns is actually quite easy if you follow the steps outlined in this blog post.
CREATING FILL PATTERNS IN REVIT
To create a new fill pattern, go to the Manage Tab, click on ‘Additional Settings’ and on the drop down click on Fill Patterns.

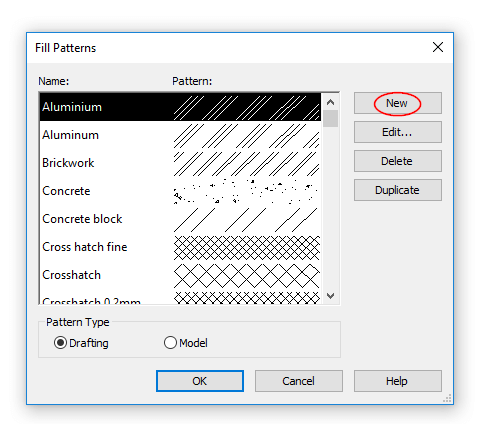
This will bring up the Fill Patterns dialog box which shows you all the fill patterns available. To the right, click New to create a new pattern.
Here you can create a simple line pattern, basically a bunch of repeating parallel or intersecting lines (pretty boring stuff!).

I’m guessing this is probably not the kind of hatch pattern you wanted to create! So click on Custom and click on Import.

Here you can import any .pat file – those of you who are familiar with AutoCAD will know that the hatch patterns in Autocad are .pat files. So if you have a hatch pattern that you like in AutoCAD then you can easily import it into Revit via this method.
There are actually a whole bunch of .pat files you can download for FREE (www.cadhatch.com for example) so if you’re after something in particular you can search the net, download then import into Revit.
However, if you really really want to make a custom hatch pattern, here is the easiest way I have found:
CREATING CUSTOM .PAT FILES
If you ever open a .pat file in a text editor you will see they are full of numbers like this:
0, 0,0, 0,2, .5,–1
90, 0,0, 0,1.5, .5,–.25,0,–.25,.5,–.5
90, .5,0, 0,1.5, .5,–.25,0,–.25,.5,–.5
0, 0,1.5, 0,2, .5,–1
These numbers basically describe each line in a patterns length, origin, angle etc… and in my opinion is way to time consuming to try and create yourself! (Although you can certainly give it a go if you want).
Open AutoCAD, type APPLOAD
Navigate to the Lisp file you just downloaded, click ‘Load’ then Close.
Type DRAWHATCH
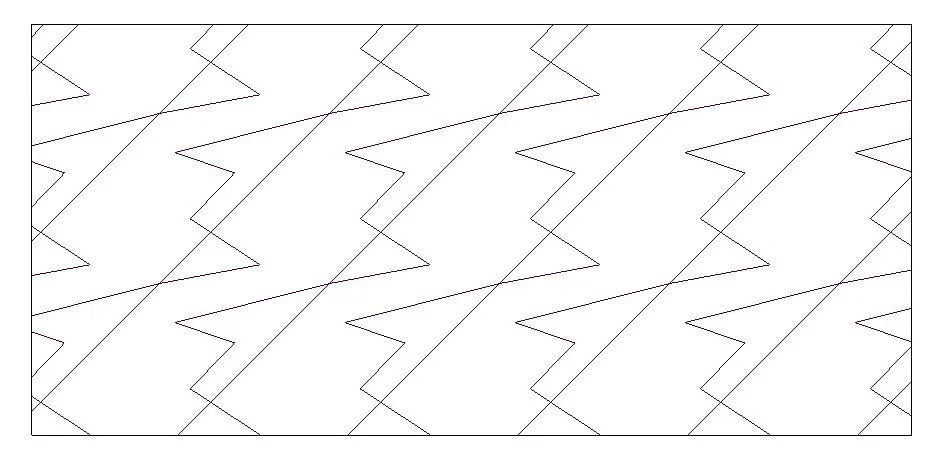
Follow the prompts and draw Lines (not polylines or circles etc.) within the box that was created. Go Wild!

When you are done, type SAVEHATCH
Follow the prompts and select the lines you just drew in (not the border lines).
Give it a description and save somewhere sensible.
Now go into Revit and import the .pat file you just created.

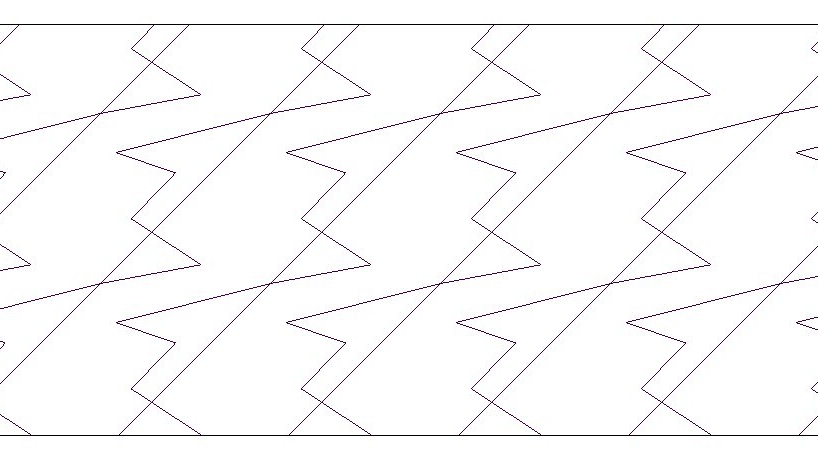
BOOM! Custom hatch/fill pattern to use in Revit
How easy was that! This is the quickest way I have found to create true custom Revit Hatch Patterns. Hopefully this post has helped you learn how to do it.
If you have any questions, or have an even better way to create custom fill patterns in Revit then please feel free to contact Karl on his blog post here!
Editor’s note: This post was originally published on RevitIQ's blog and re-published here with permission.